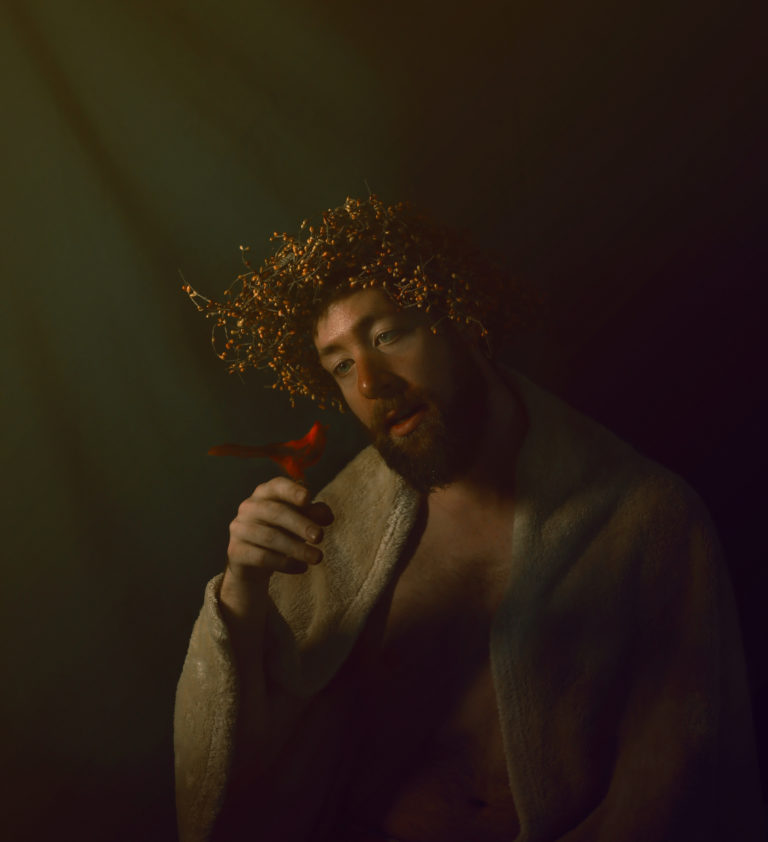
Lately I’ve been in love with old Renaissance and Dutch Master portraits. There’s something about that surreal style, soft lighting, random animals, and longing stares into the distance that I needed to try for myself. I wasn’t really sure where to begin until I got a small battery-powered light wand for Christmas.
My brother (pictured below) and I started playing around on Christmas morning, brainstorming in the dining room with a dark sheet clamped to a shelf on the wall for a backdrop. We started pulling ornaments off the Christmas tree, garland from the kitchen, a blanket from the couch, and BAM. In 10 minutes we had travelled back 400 years.
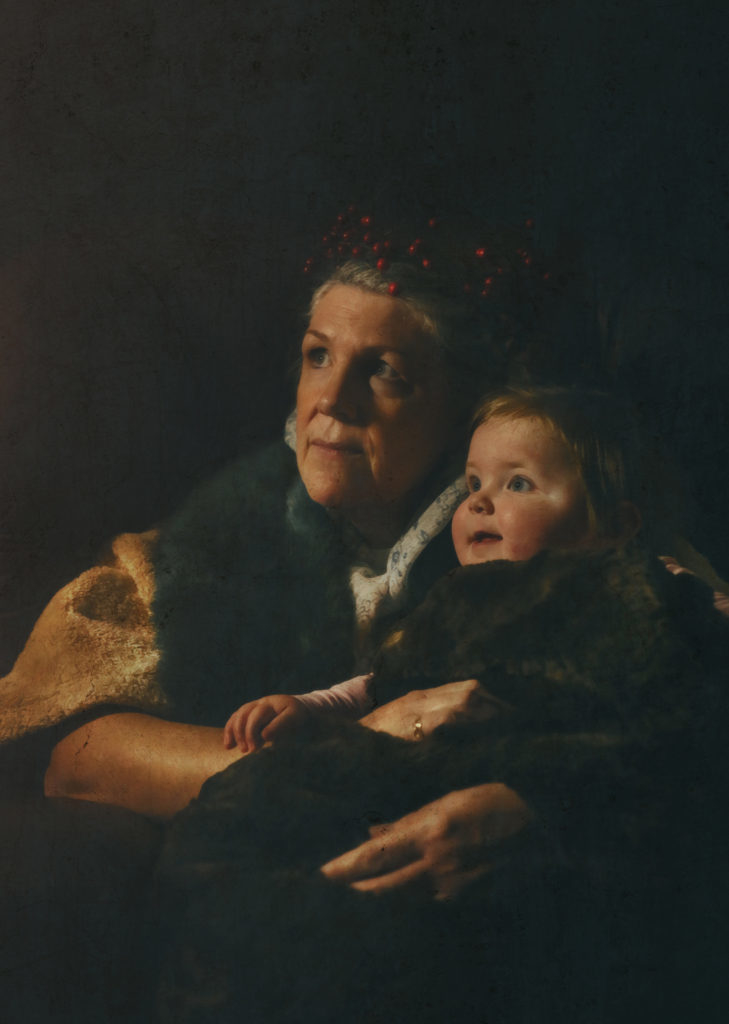
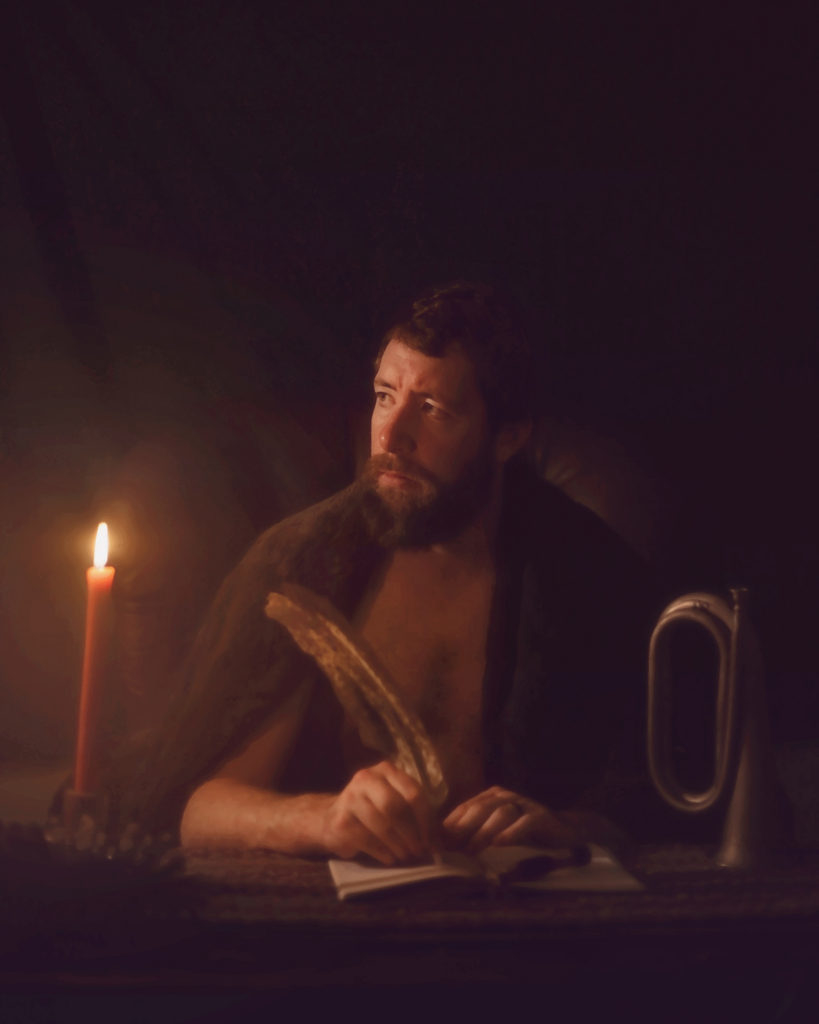
It cracked us up. Seriously, we could not stop laughing at the ridiculousness of it. As hodgepodge as it was, it worked. We started adding anything else we could find around the house, from babies and pets to candles and parents:
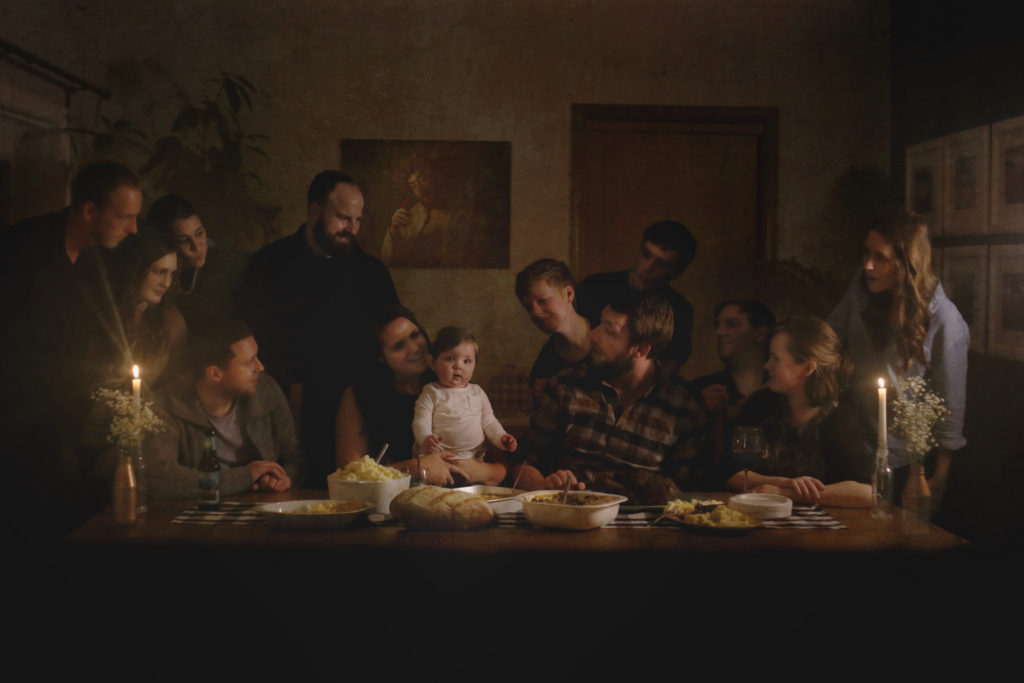
For the grand finale, I wanted to take a stab at recreating the Last Supper during a Friendsgiving potluck at my brother’s house a few days later. I think this one turned out to be one of my all-time favorite pictures, and one that the baby (my niece) will definitely get a laugh out of when she’s older. I call it First Supper.
Lighting Setup and Post Processing
I had a hard time finding good resources on how to recreate this look through a photograph, so I’m going to share my secrets here for anyone that would like to try something similar. It was really a lot of fun and I encourage anyone with a camera (even a smartphone) and access to some kind of light source (even a lamp) to try this out.
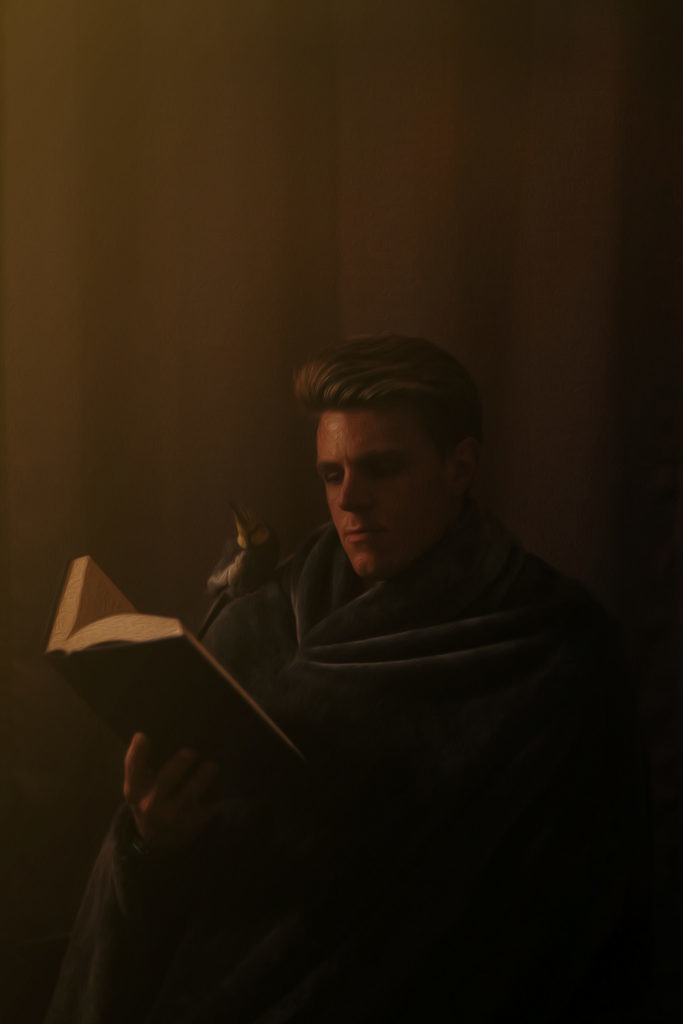
For each shot above, I had the light wand off to the side in a way that only illuminated the subjects partially. The shadows you make here are the key to the effect. If you take a look at any of those pictures, you’ll notice that each face has some dramatic lighting that includes both light and shadow. It takes a bit of trial and error moving the light source around to get the best shadow balance, depending on a person’s facial features and how they’re situated. I had everyone angled a bit to their right in order to get a face shadow that I liked.
The next big tip is to underexpose these bad boys. Make sure they come out dark. This is a great time to practice shooting in manual mode for anyone uncomfortable with it. Shooting in other auto or semi-auto modes will allow your camera to overcompensate for the lack of light and you’ll end up with a well-exposed shot that just won’t look right with the effect you’re trying to achieve. I tried to get each shot dark enough that I could barely see any details at all in the background, and light on the face was the main focal point.
In Photoshop, I played around with a few different techniques. I always start off dodging and burning. There’s 1000 ways to do this, but I prefer using 2 curve adjustment layers, one for adding light and one for taking it away. Since these were underexposed straight out of the camera, I did more work on the dodging layer to bring out details in the face and clothing. I like color grading based on luminosity so I use color balance adjustment layers with ‘apply image’ on their masks to target shadows and highlights separately. There’s no rule book for color grading since it really comes down to personal style and preference, but for the shots above, I tended to add yellow and red to the shadows and highlights to give them a warm feel. I also played around with some different textures using open source pictures of concrete from Unsplash. I tried out the ‘oil paint’ filter in CC 2019 but ended up going with a different brush from the filter gallery.
This website uses cookies to improve your experience. We'll assume you're ok with this, but you can opt-out if you wish. Cookie settingsACCEPT
Privacy & Cookies Policy
Privacy Overview
This website uses cookies to improve your experience while you navigate through the website. Out of these cookies, the cookies that are categorized as necessary are stored on your browser as they are essential for the working of basic functionalities of the website. We also use third-party cookies that help us analyze and understand how you use this website. These cookies will be stored in your browser only with your consent. You also have the option to opt-out of these cookies. But opting out of some of these cookies may have an effect on your browsing experience.
Necessary cookies are absolutely essential for the website to function properly. This category only includes cookies that ensures basic functionalities and security features of the website. These cookies do not store any personal information.
Any cookies that may not be particularly necessary for the website to function and is used specifically to collect user personal data via analytics, ads, other embedded contents are termed as non-necessary cookies. It is mandatory to procure user consent prior to running these cookies on your website.